Welcome to Shanghai Fangxi Industries Group!


Products
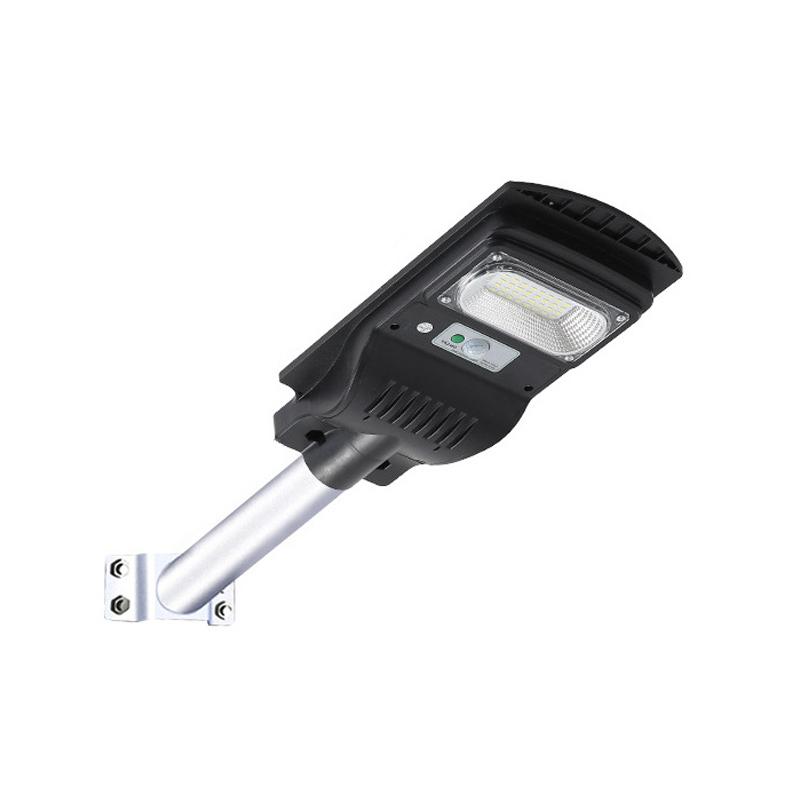
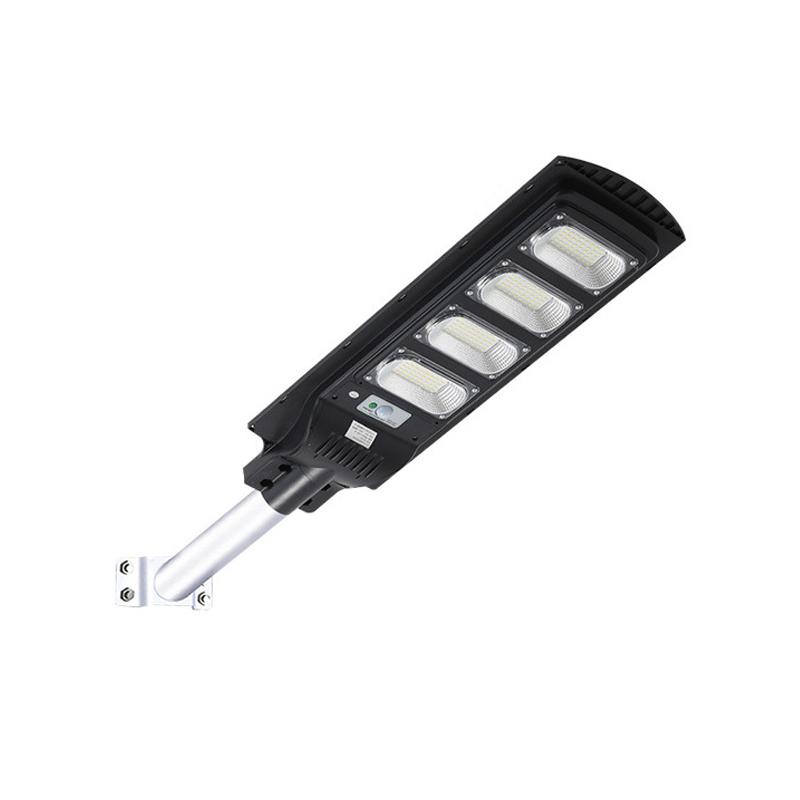
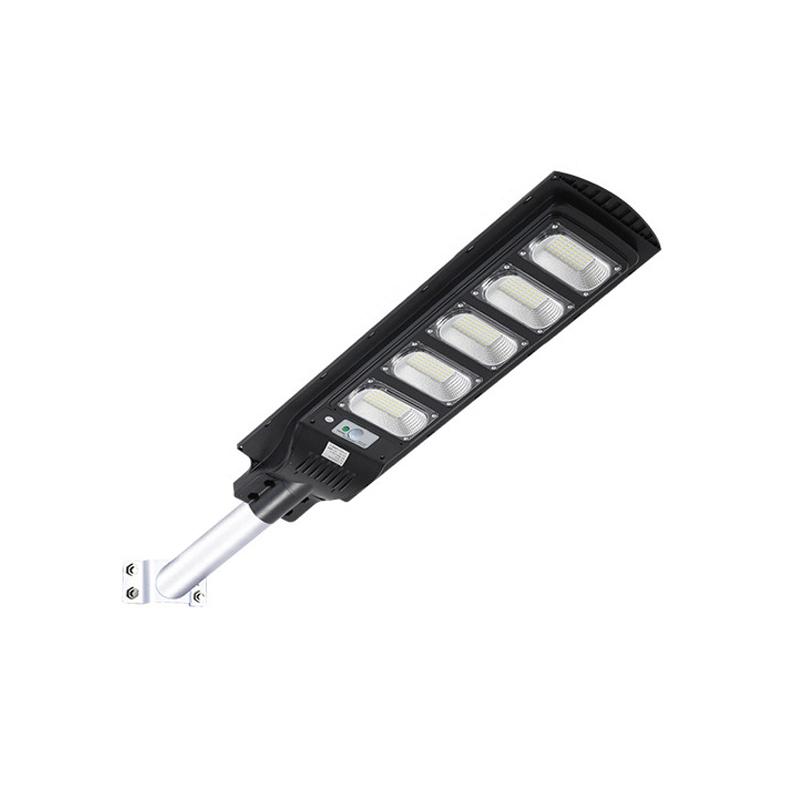

Street Light
Description
Zero Electricity Bill All Year – No Wiring Required
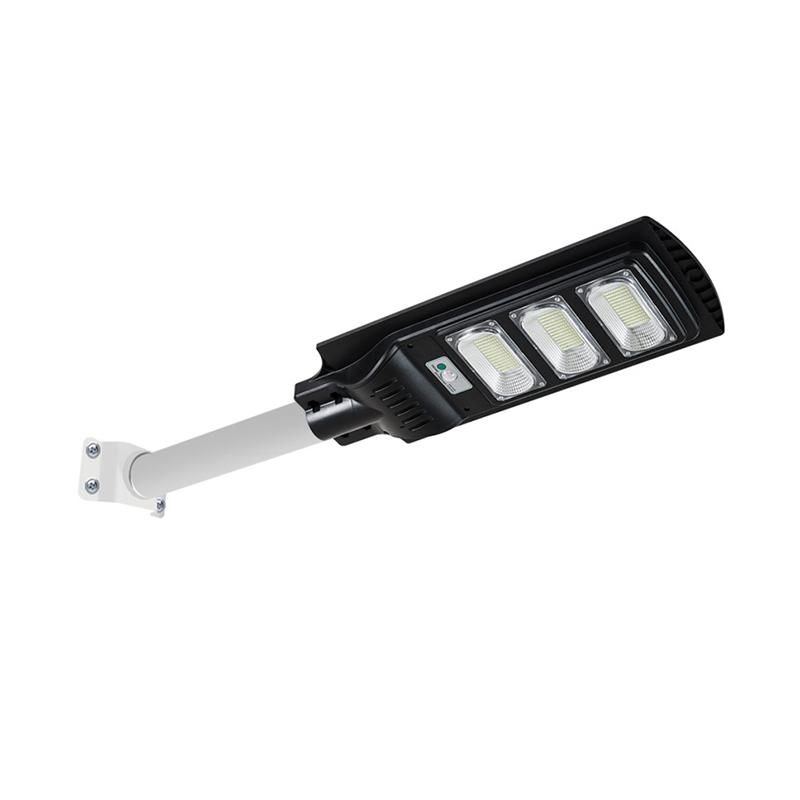
Motion Sensor Solar Street Light
Outdoor lightning and rain resistant – No power outage on rainy days
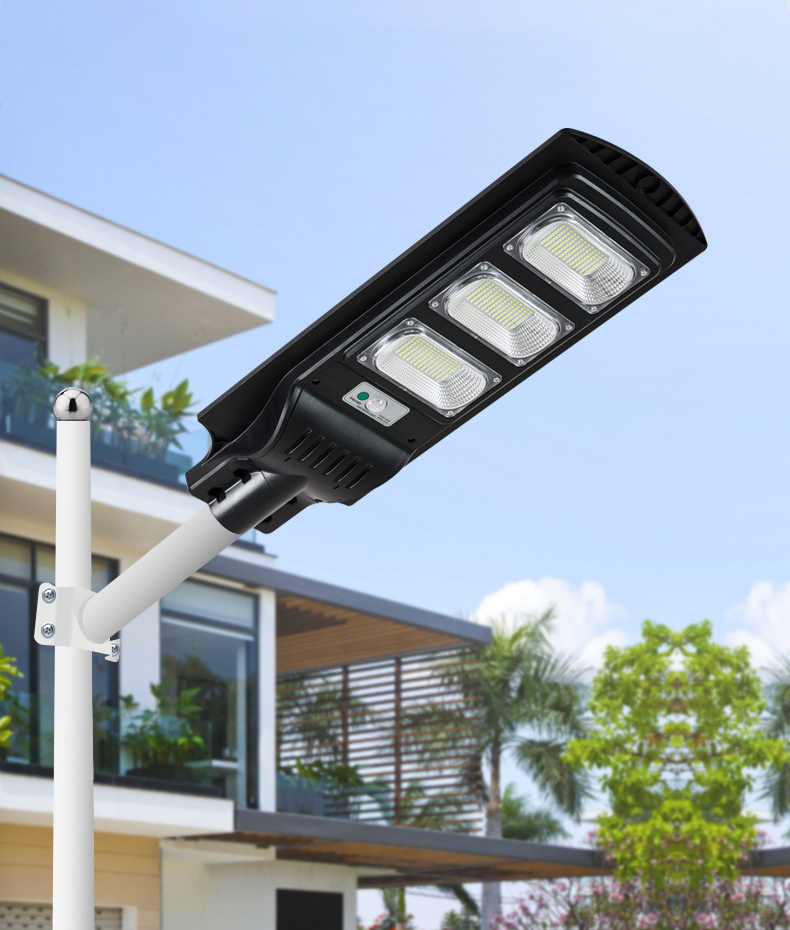
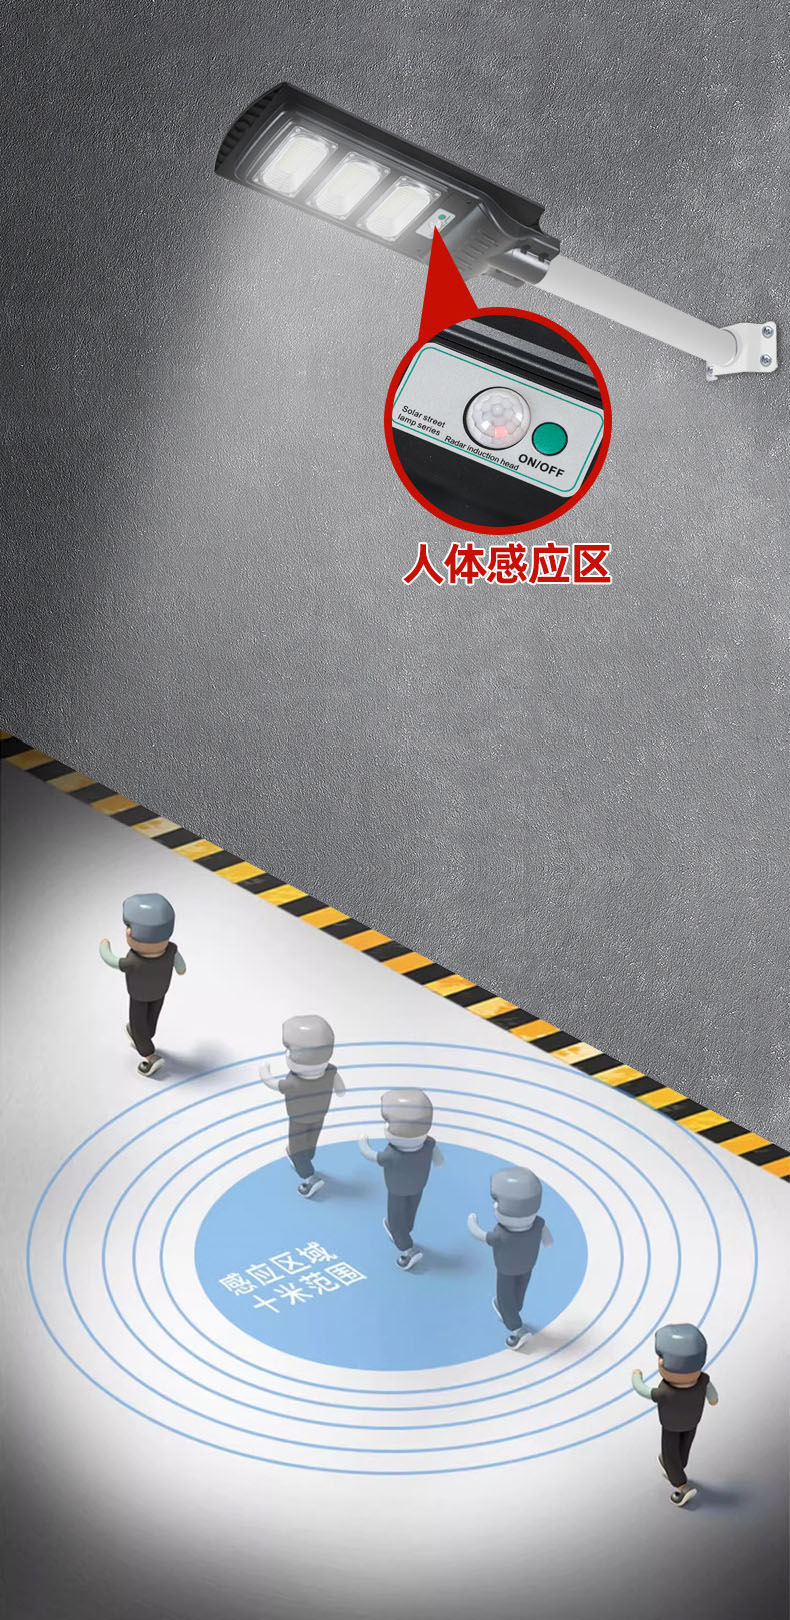
Motion Sensor – 20m Radar Sensor
Automatically switches to high-brightness illumination when someone passes by – switches to energy-saving dim light mode when the person leaves the detection range.
Motion Sensor Detection Area
Smart Effect Display
Solving the problem of power consumption from constant lighting
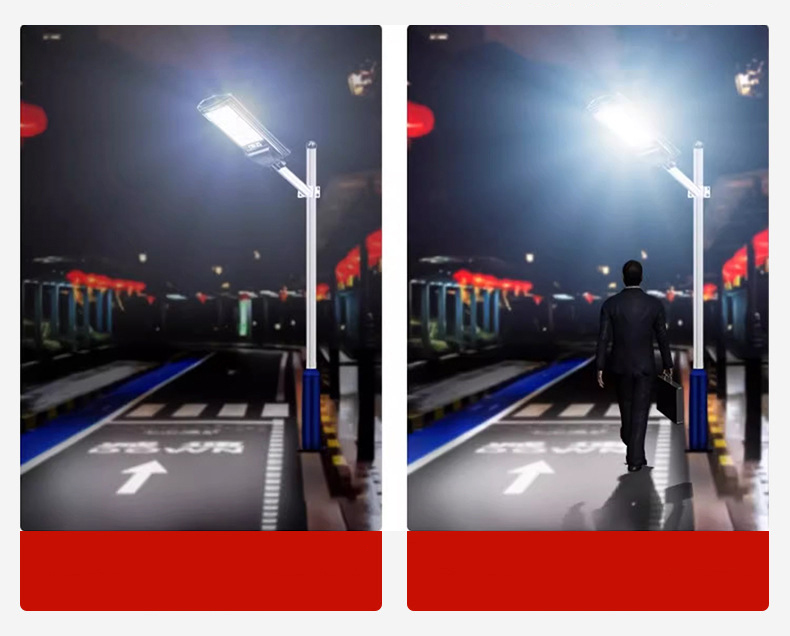
Dim Light Effect: When no one passes by, the light automatically dims to energy-saving mode.
Bright Light Effect: When someone passes by, the light automatically switches to high-brightness illumination.
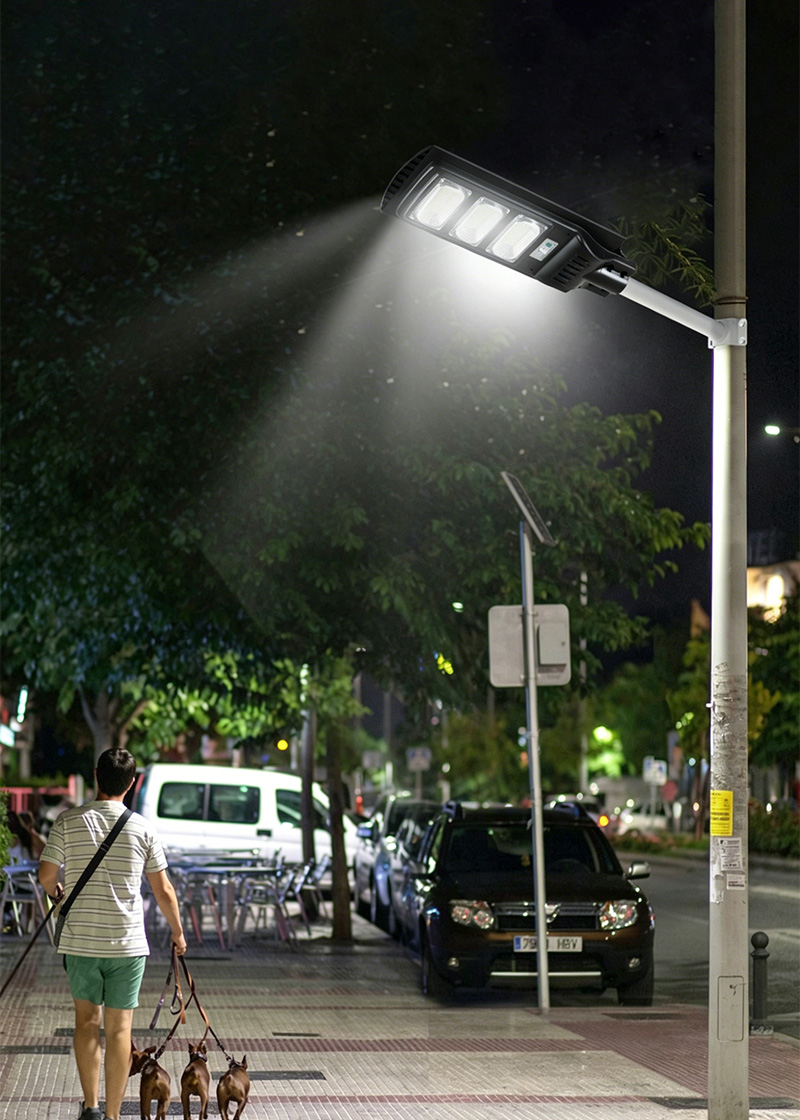
No Power Outage on Rainy Days – Stays Lit All Night
Core long-lighting technology – automatically adjusts power consumption on rainy/cloudy days.
Smart Light Control – Light Sensor Switch
No manual operation needed – adapts to all weather changes
Charges during the day – Automatically lights up at night
Fully automatic light-sensing control – constant lighting mode
Automatically charges during the day
Automatically turns on at night
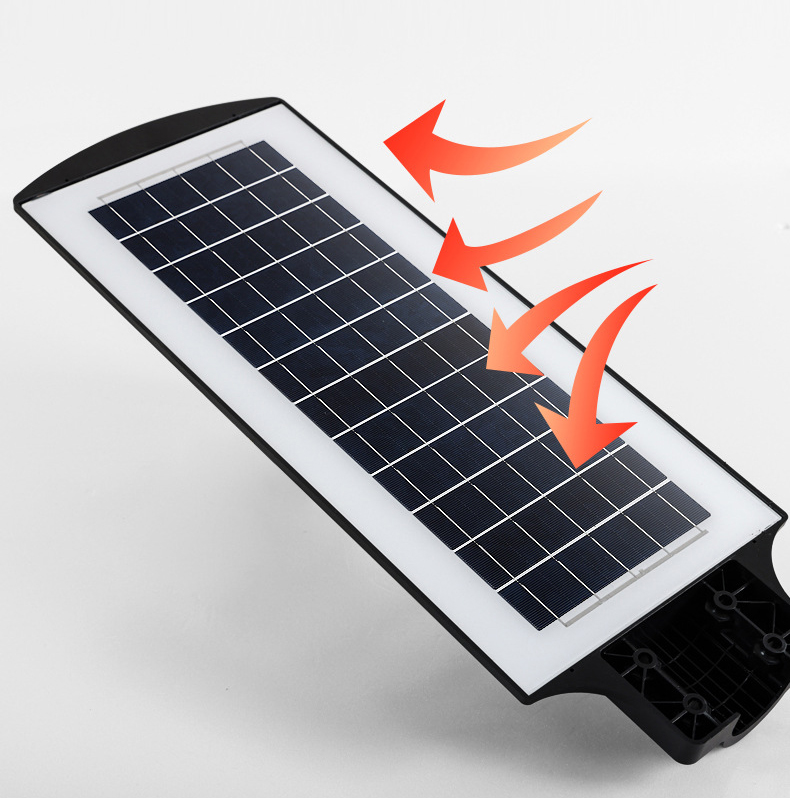
Polycrystalline Silicon Solar Panel
Charges in sunlight – high photoelectric conversion efficiency
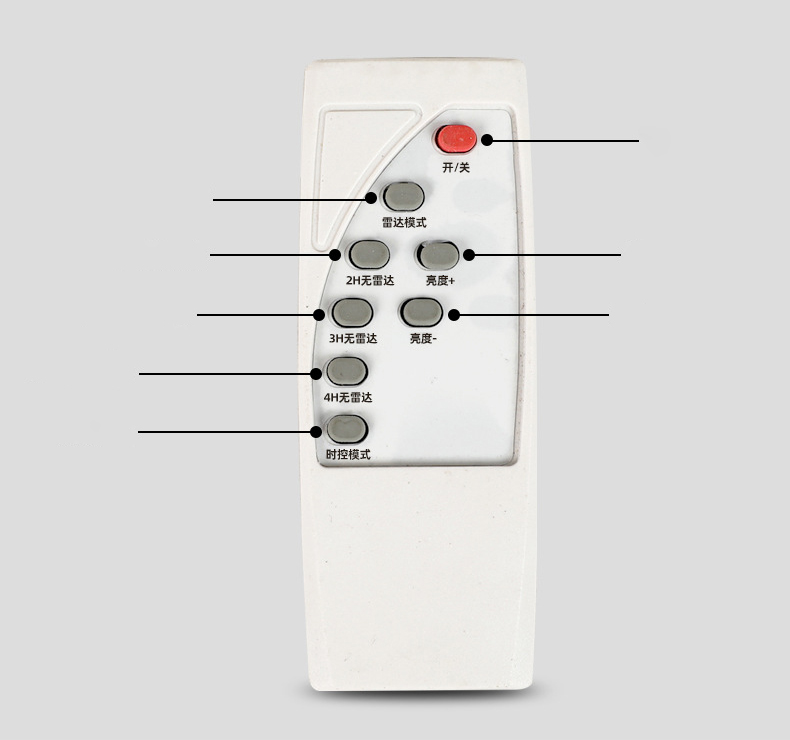
Smart Remote Control
Remote control with timing function
On / Off
Radar mode
2 hours → Radar mode
3 hours → Radar mode
Brightness +
Brightness –
4 hours → Radar mode
Constant light mode
Working Mode Selection
Light Control Mode: The light turns off when natural light reaches a certain intensity, and turns on when light intensity is insufficient.
Remote Control Mode:
Forced ON: Press the ON button – the light will flash twice.
Auto Mode: Press the AUTO button – the light will flash twice. Automatically turns on at night and turns off at dawn.
Note: The factory default setting is Light Control Mode + Remote Control Mode.
Important: Once the ON or OFF button is pressed, the light control function will be disabled. If you want the light to turn on automatically at night, press the red AUTO button to reactivate light control. Otherwise, the solar light will not turn on automatically at night.
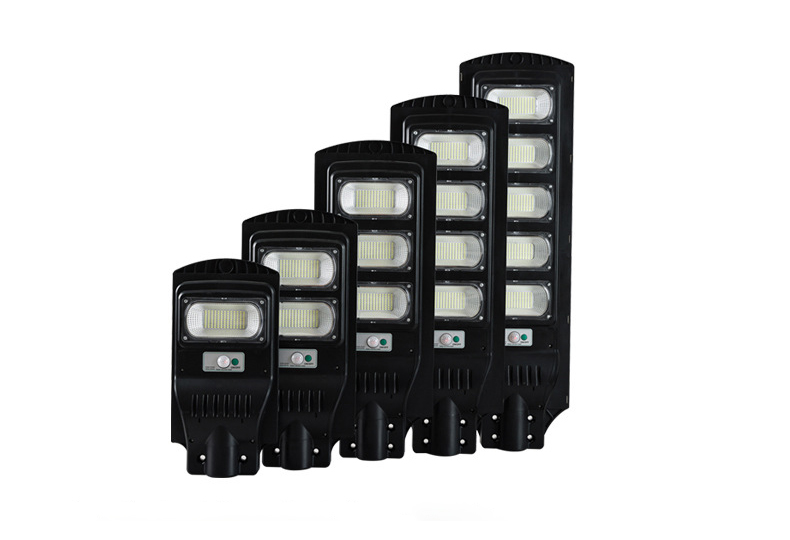
High-Quality ABS Shell
High temperature resistant – fearless in harsh weather – anti-oxidation and anti-corrosion – impact resistant
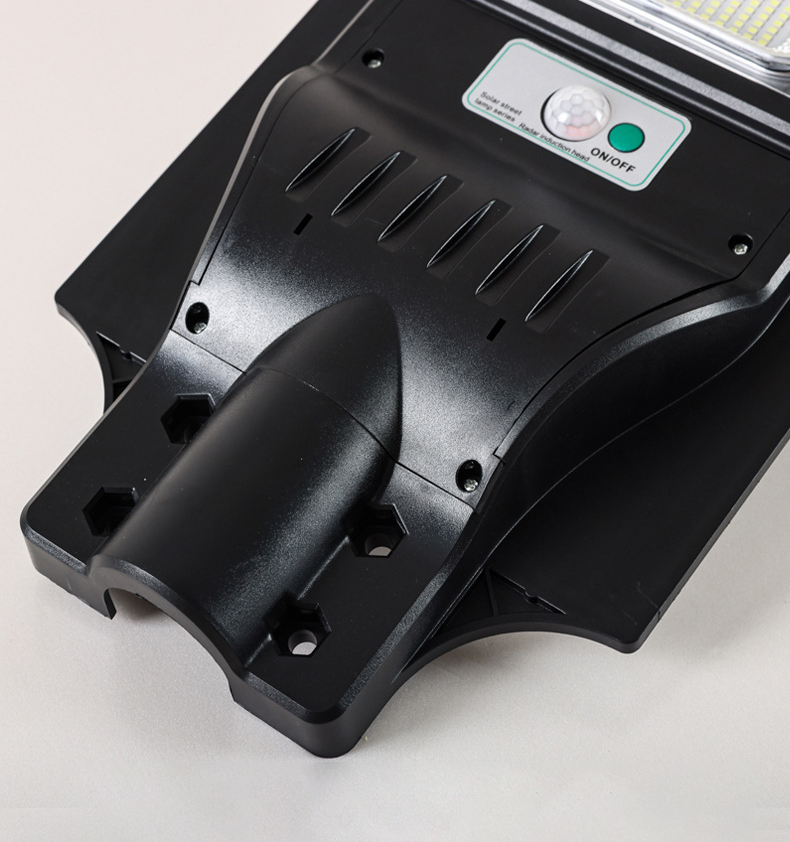
Humanized Design – Easy Installation, No Wiring
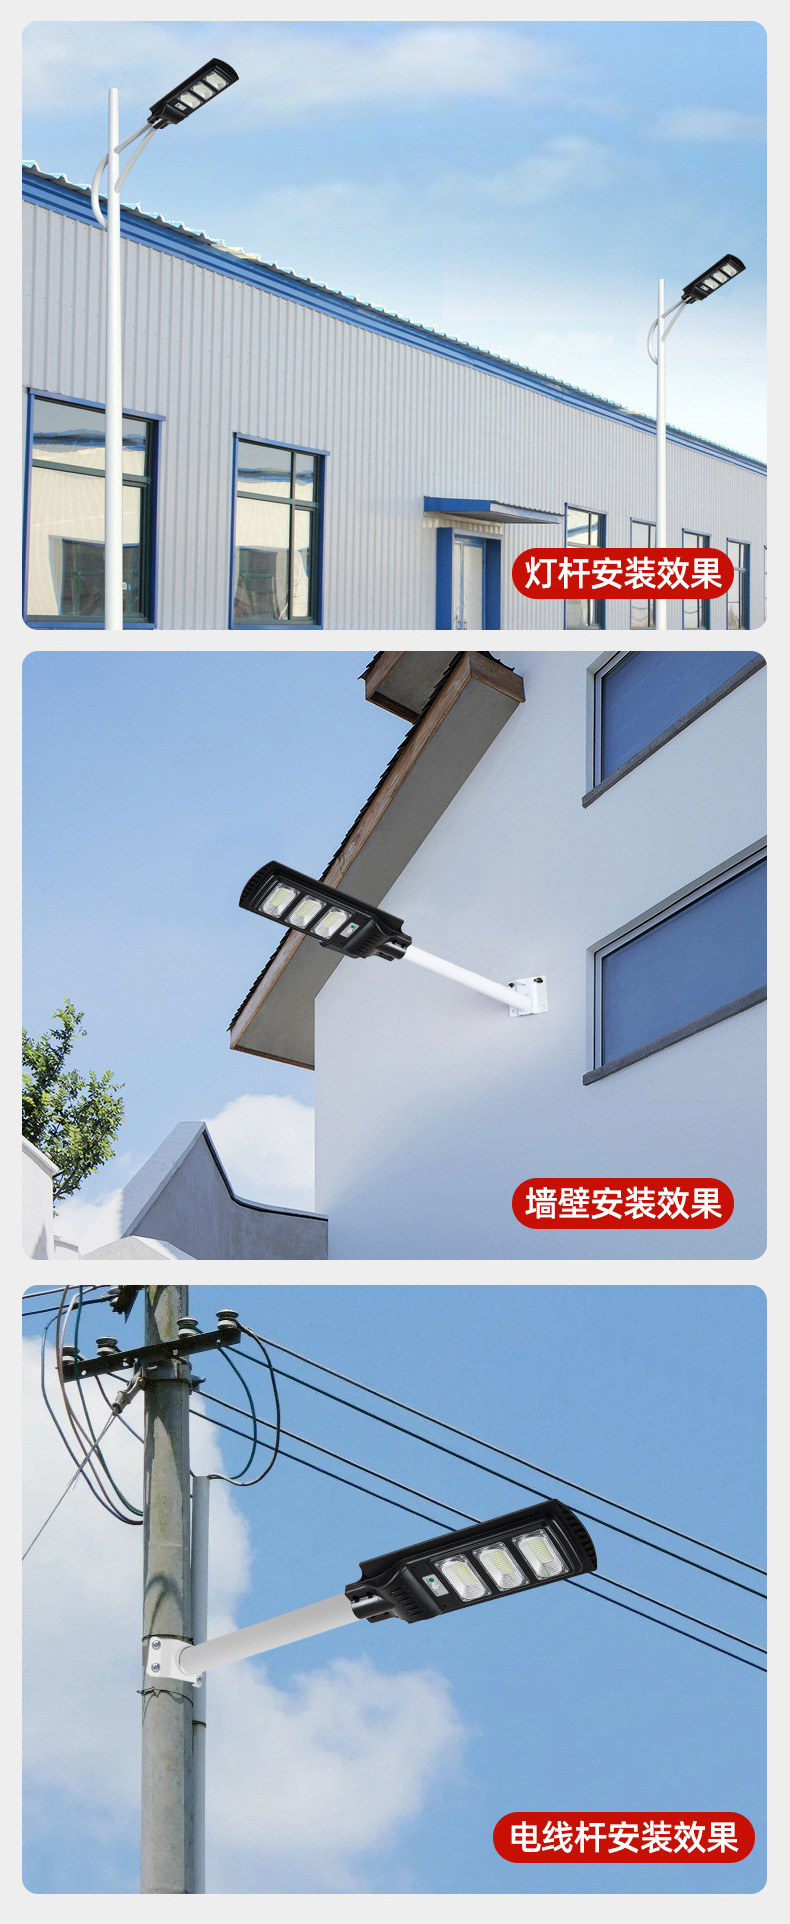
No wiring or charging required – can be installed anywhere – simple and quick – can be used as both a wall light and a street light.
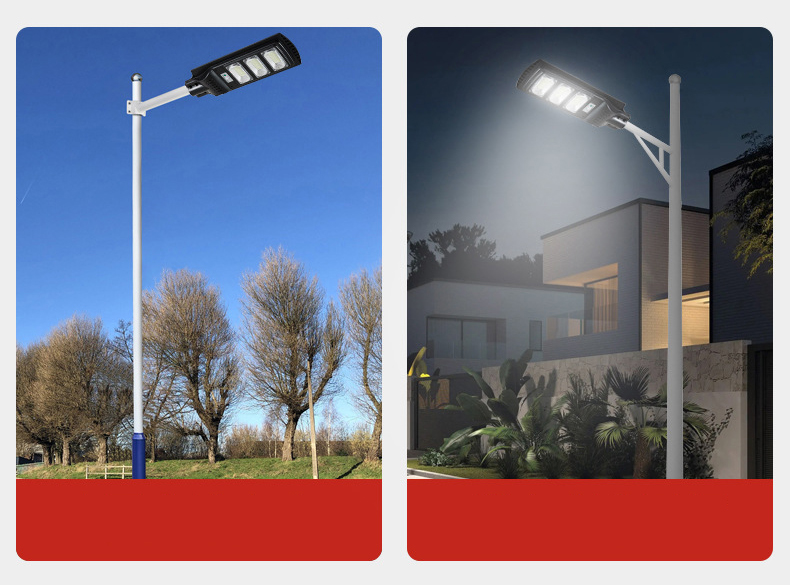
Pole installation effect
Wall installation effect
Utility pole installation effect
Installation Guide
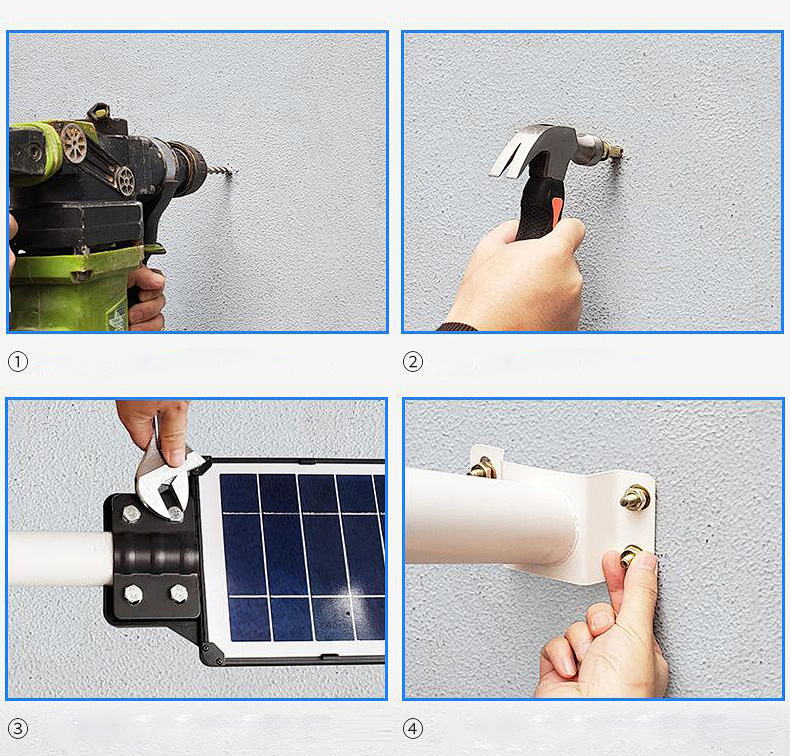
No wiring required – simple operation – can be easily completed by one person.
Use a drill to make holes in the wall at the corresponding positions.
Insert the expansion screws into the holes.
Secure the solar street light to the lamp arm.
Remove the nut, fix the lamp arm in place, then reattach the nut.
Installation Guide
Pre-Installation Check
The solar light has been pre-charged before leaving the factory and can light up normally. Please check if the light works properly before installation.
Connect the light to the solar panel. When the solar panel faces strong light, the light should be off. Disconnect the connector – the light should turn on. The light sensor is working normally.
If the light still does not turn on, the protection board may have shut off. Disconnect and reconnect the plug several times until the red indicator light on the lamp head flashes.
Facing the front of the lamp, stand at least 5 meters away and press the ON button – the light should turn on. Press the OFF button – the light should turn off. This indicates the lamp and remote control are working properly. The remote must be pointed at the receiver on the lamp head – otherwise, the remote may not respond. Remote control range: 5–10 meters.
Installation Method
First, fix the bracket to the wall.
Attach the tray or U-shaped bracket to the solar panel, then mount it on the bracket. Install at a 45° tilt toward the best sun-facing direction.
Connect the waterproof cable between the lamp head and the solar panel. Secure the lamp head in place.
Tip: For wall-mounted floodlight installation, use four expansion screws. For pole installation, use an 8cm diameter clamp.
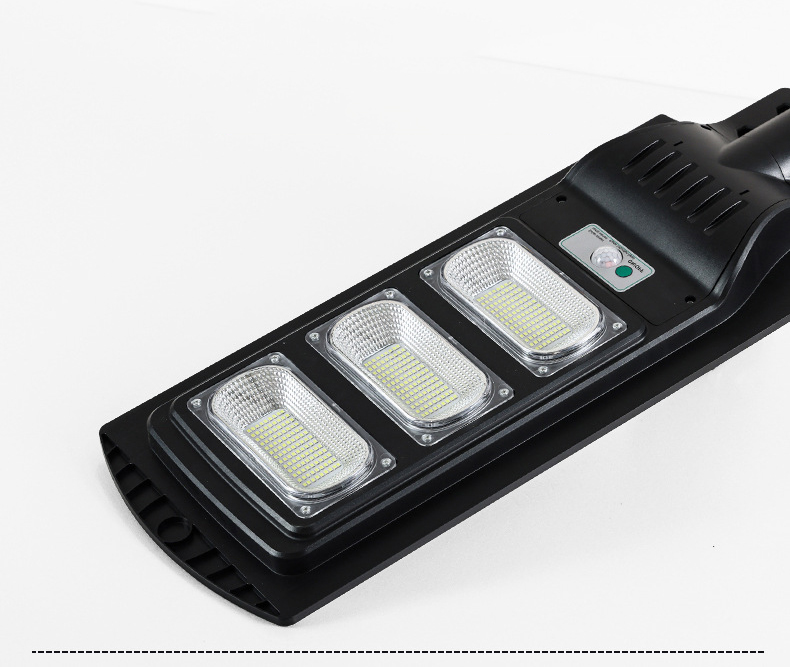
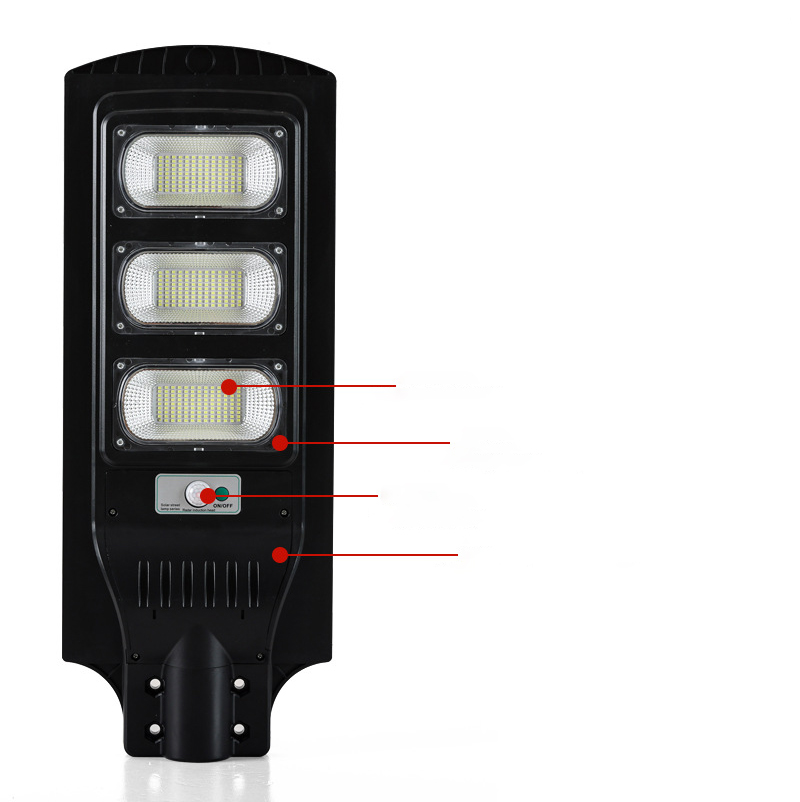
LED Light Source – Full power, stable light emission
Optical Lens – Amplifies light output, improves brightness
Motion Sensor Area – 20m radar sensor
High-Quality ABS Shell – Integrated molding – not easy to fade or corrode
FAQs
Q1: What are the main product categories you provide?
Q2: What is the minimum order quantity (MOQ)?
Q3: Can products be customized?
Q4: How is product quality guaranteed?
Q5: What costs are included in the price?
Q6: What payment methods do you accept?